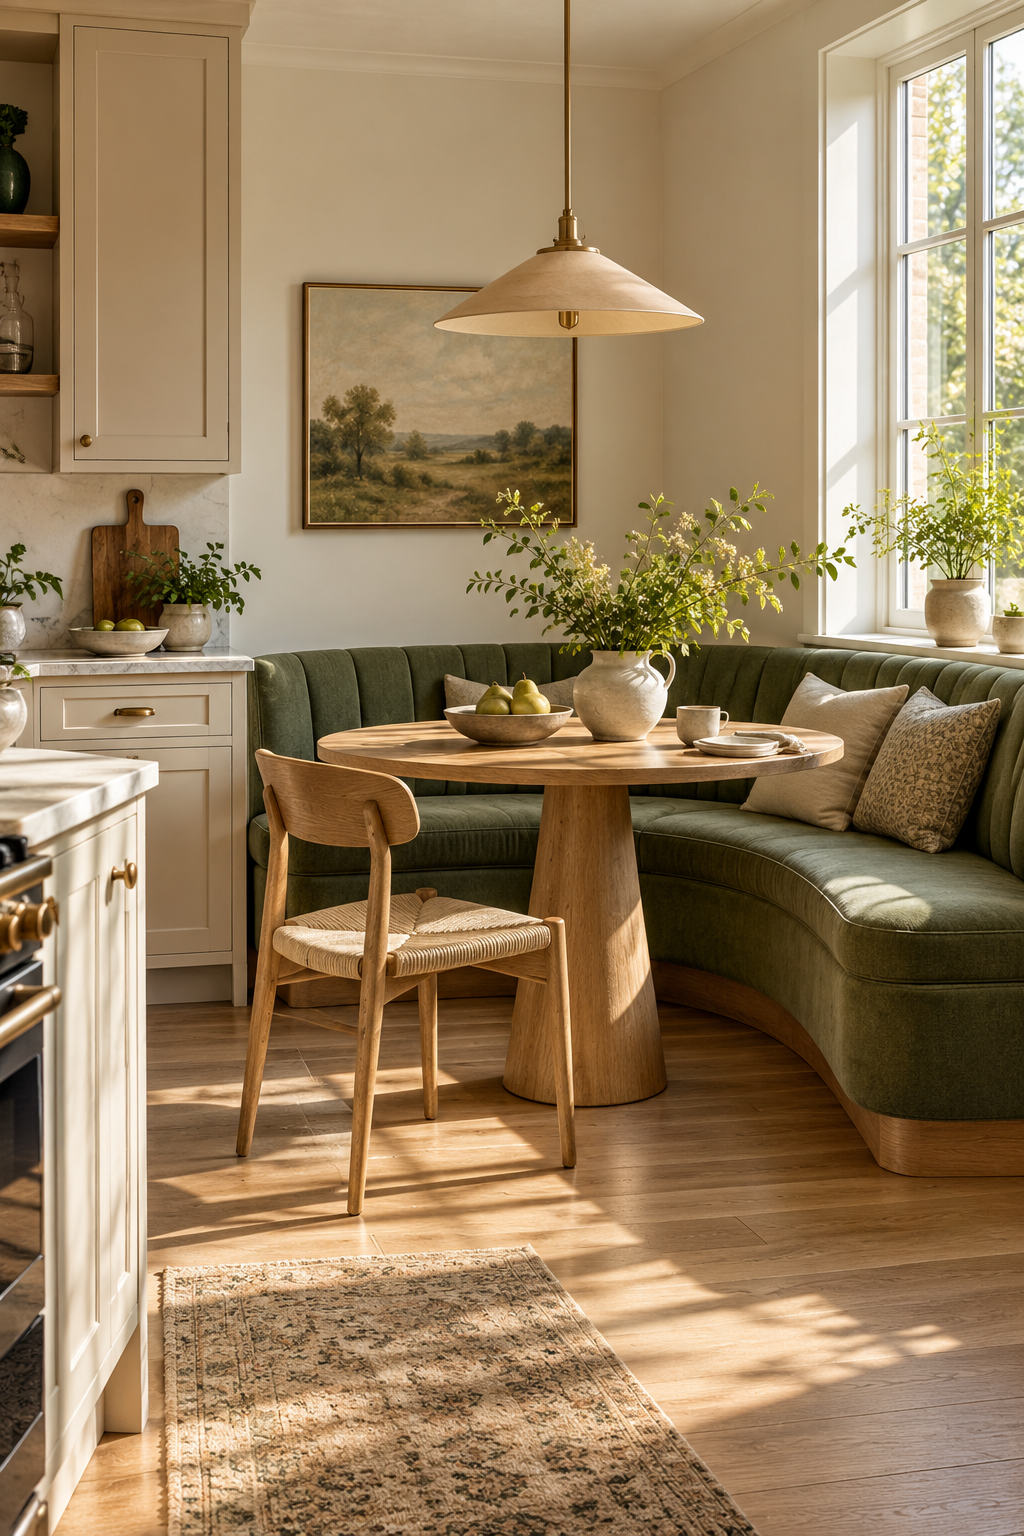
A dining corner does not need its own room, but it does need a clear everyday purpose. These ten original concepts cover different ways to use a wall, corner, window, kitchen edge or shared table. Compare the closed arrangement with meals in progress, and choose seating around the people who actually use it.
Measure before choosing an idea
Mark doorways, kitchen appliances, windows and storage that must stay accessible. Outline the table, then pull chairs back as if someone were standing up. IKEA's dining-planning reference suggests 80 cm to a nearby wall or cupboard and 120 cm alongside kitchen cabinets as general planning examples; these are not universal access requirements. Use your own occupants, furniture and circulation needs to decide what works.
Each picture is an original AI-generated interior concept. It illustrates an arrangement; it is not a real project, product specification or measured floor plan.
Check the working space, not only the styled view
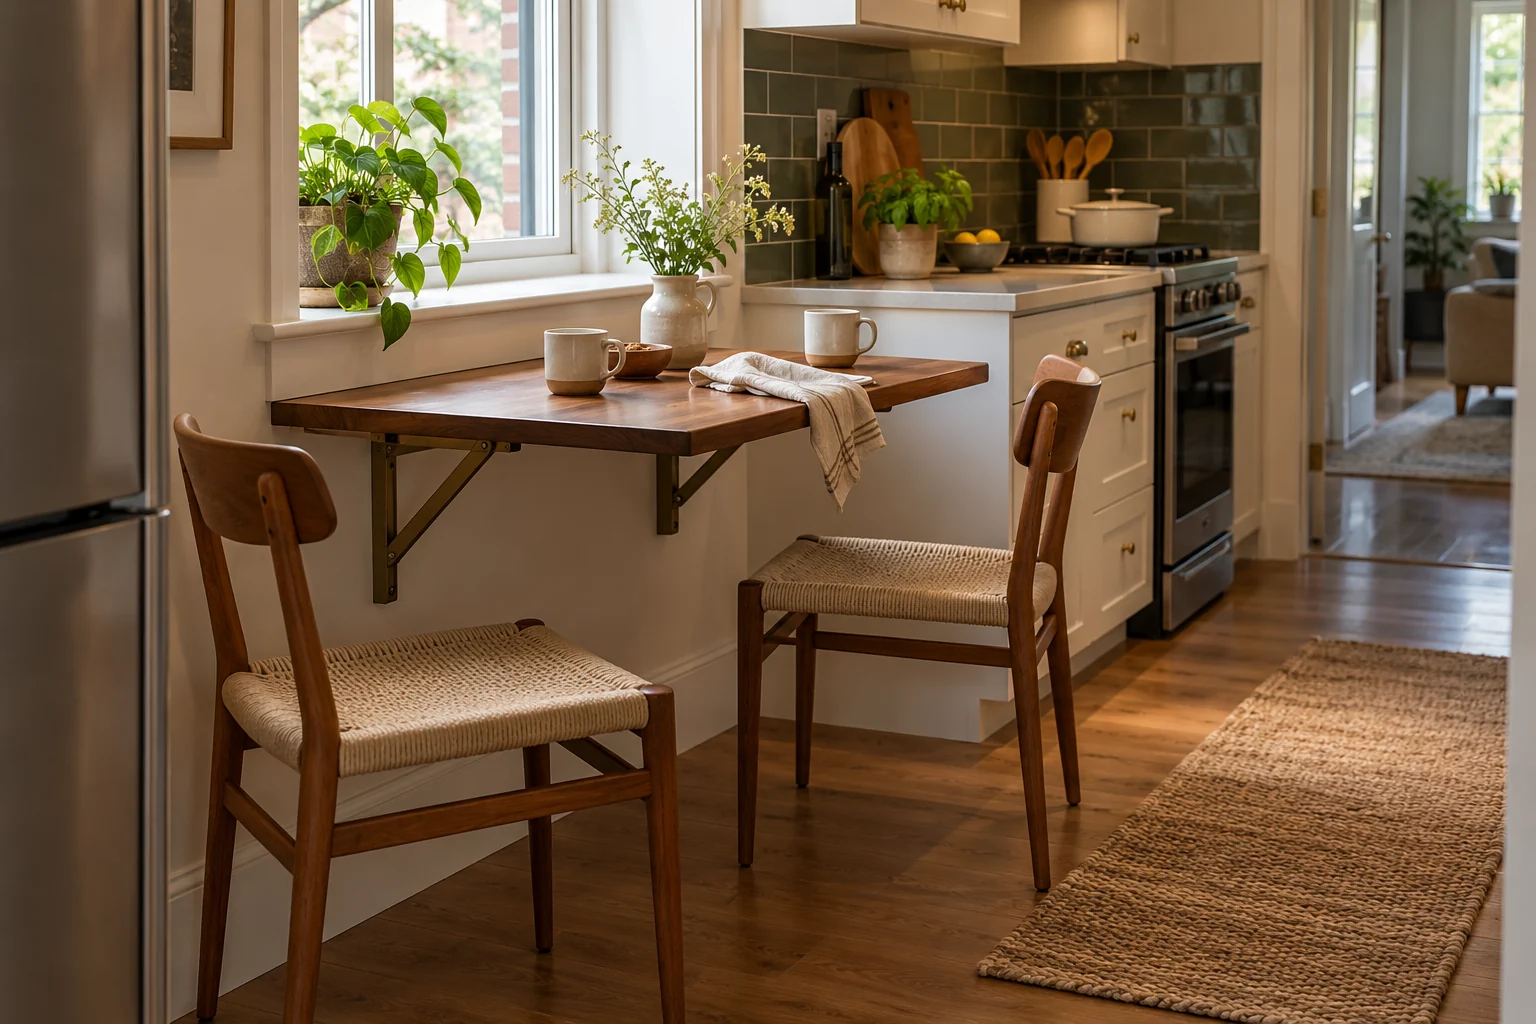
Why this arrangement is useful
The open table and visible supports make the working arrangement easy to inspect. Match hardware, chair movement and the wall to the actual product before adapting it.
Try the idea in your room
- Measure chairs pulled back and furniture open, as well as the closed table.
- Choose one everyday layout and check a separate guest version.
- Give folded furniture, work items and spare seats a reachable home.
1. Pair a straight wall bench with a small table
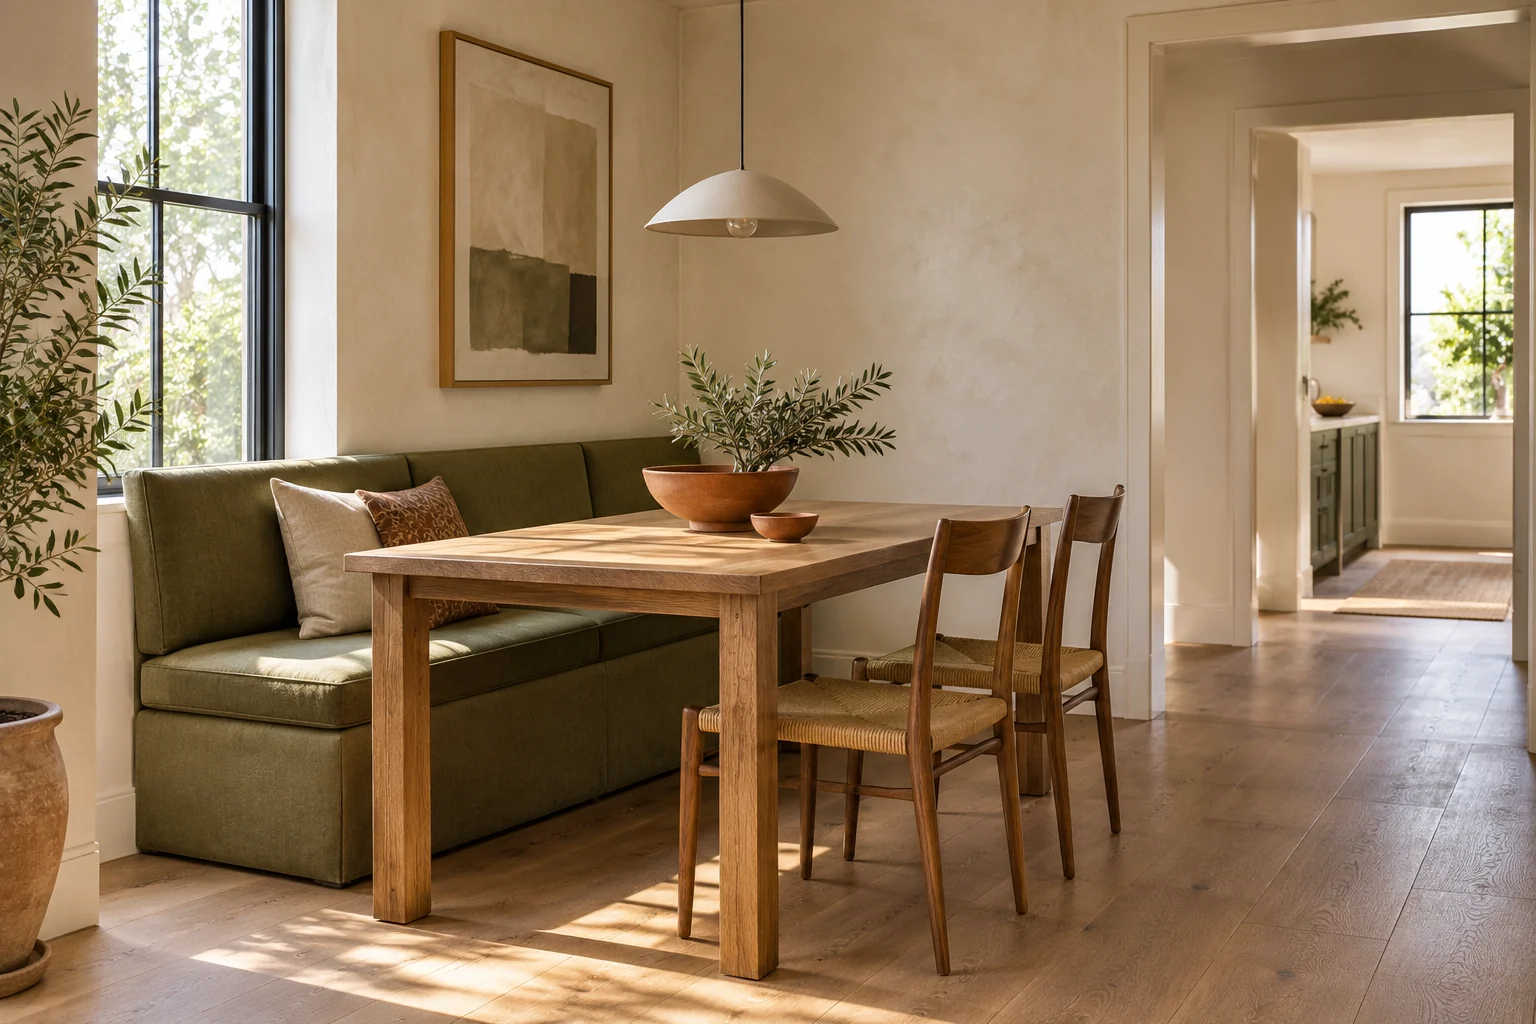
Useful for: A short wall beside the kitchen or living room.
A straight bench can keep one seating edge visually settled while loose chairs serve the open side. The table still needs enough room for people to slide into the bench. Begin with the household's normal meals, then check whether occasional guests can sit without turning the main route into a seating area.
How to adapt it
- Measure the seat depth and the space between bench and table.
- Try entering the bench from its open end with the table in place.
- Pull both loose chairs back and walk past them.
Fit check: A deep sofa is not automatically a dining bench. Check seat height, table reach and whether the back cushions push the sitter too far forward.
2. Wrap an L-shaped bench around a corner
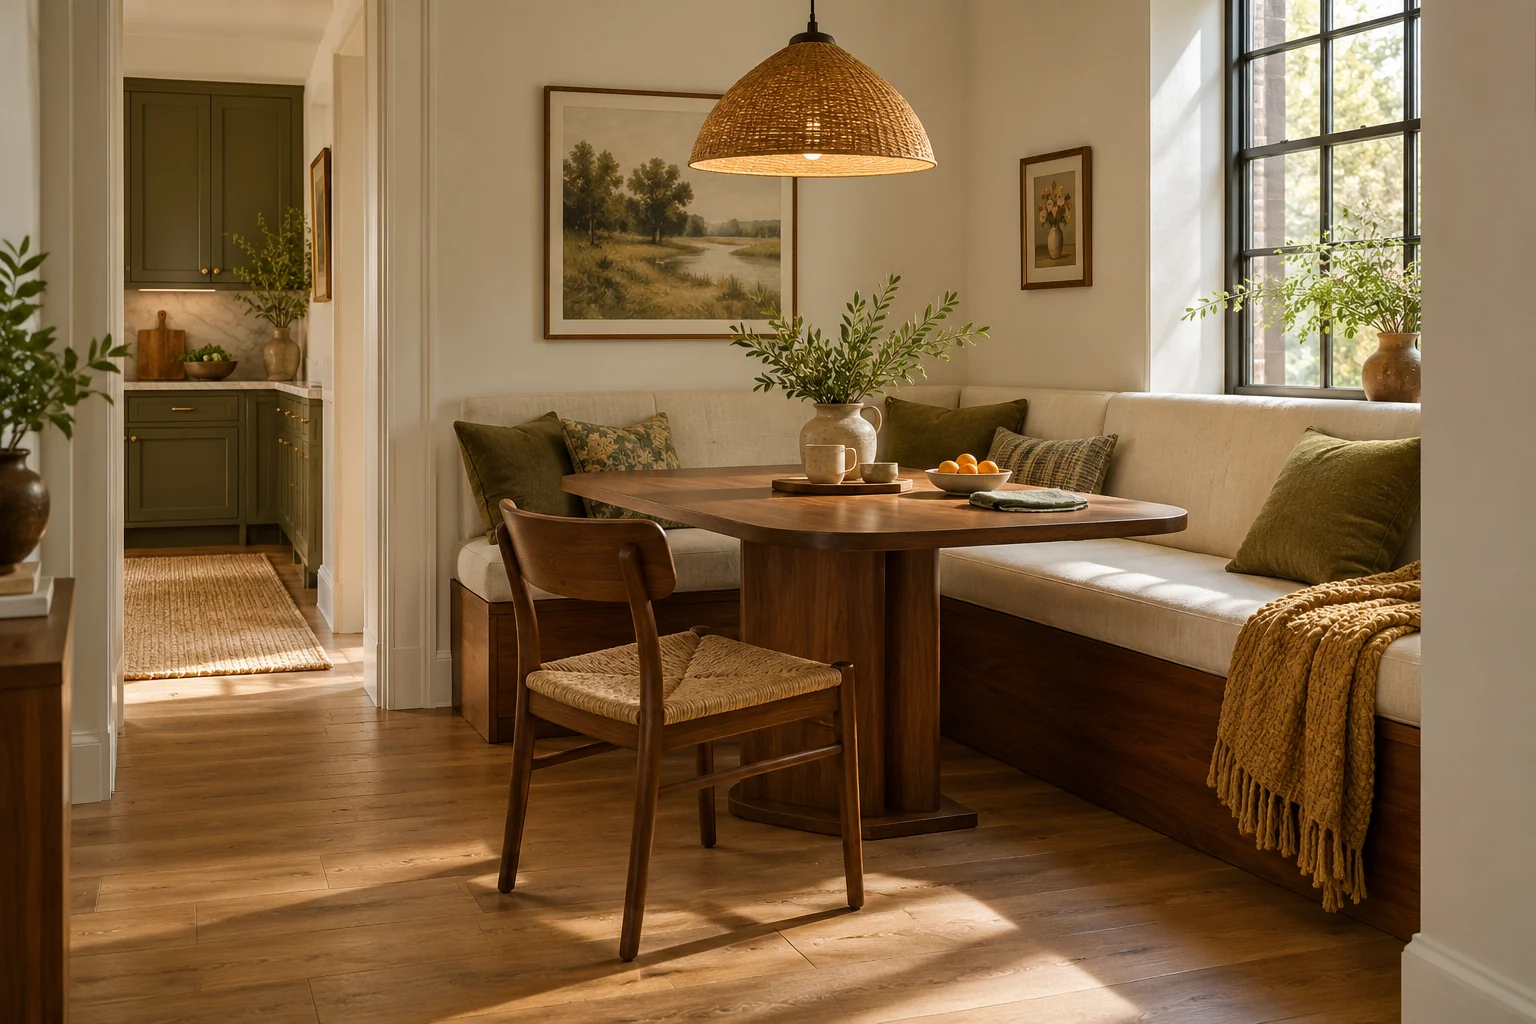
Useful for: An unused corner with two usable wall edges.
An L-shaped bench defines a dining pocket in a corner rather than spreading chairs around every side. A table with rounded corners can ease the entry point, but the bench and table must be chosen together. The illustration is a compact example; it does not establish a fixed seating capacity.
How to adapt it
- Sketch the two bench lengths and their actual seat depth.
- Try reaching the corner place without climbing over another seat.
- Move the loose chair out of the circulation path after the meal.
Fit check: Check the table base as well as its top. A central base or projecting feet can interfere with knee room and access to the inner corner.
3. Set a round pedestal table by the window
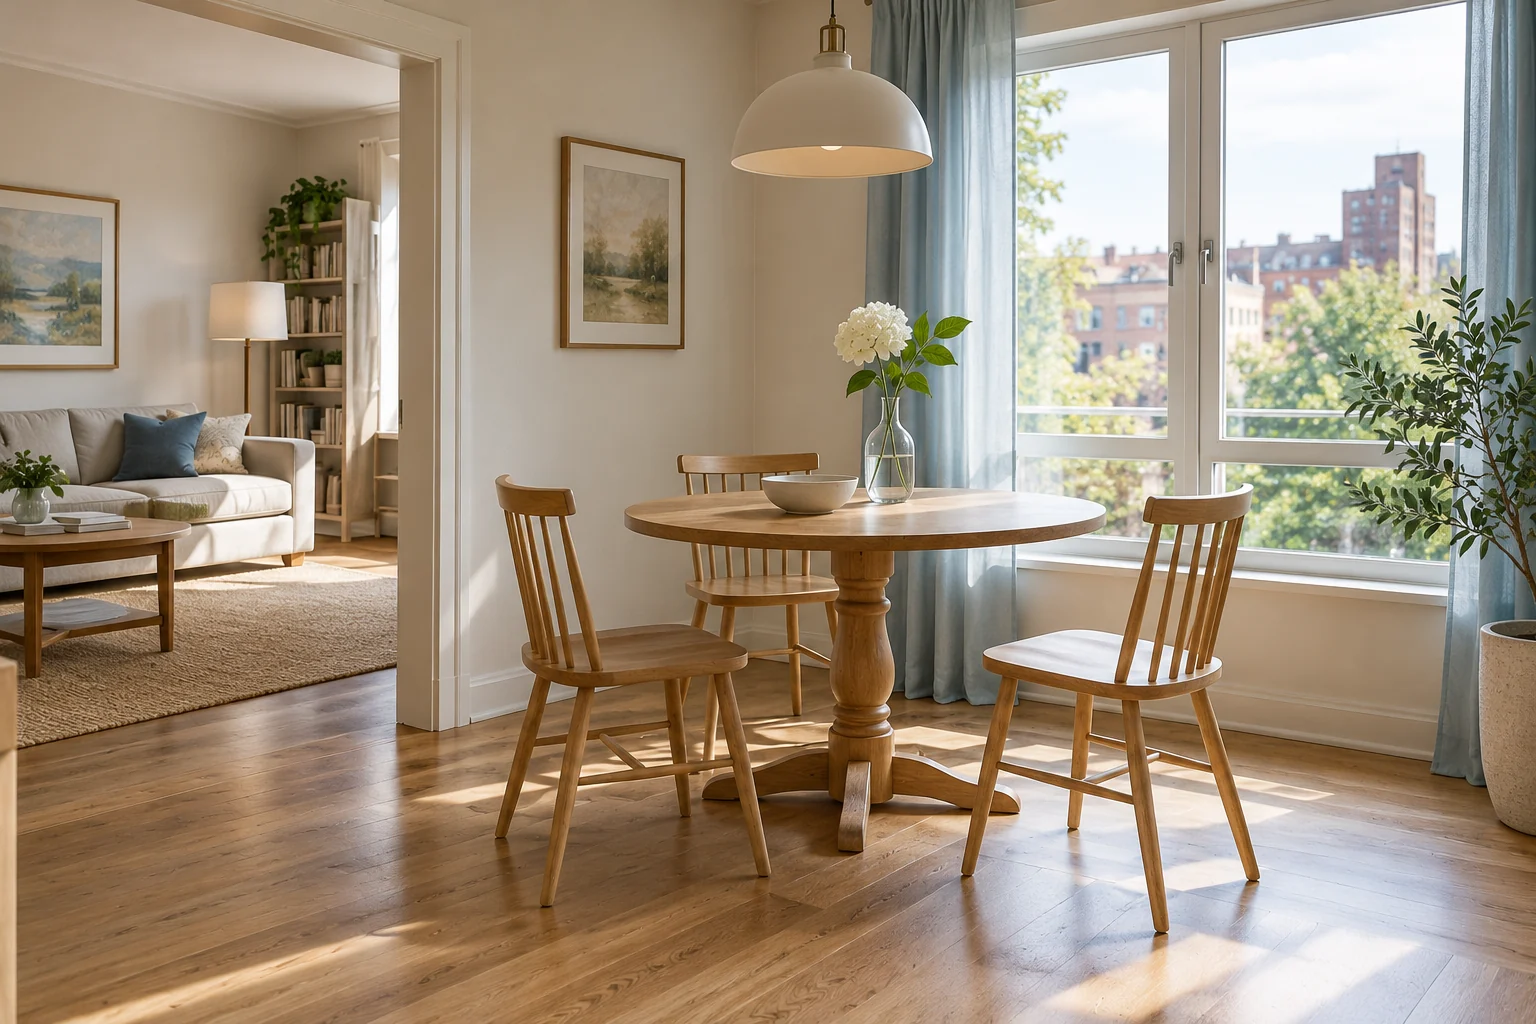
Useful for: A small open corner where people approach from different directions.
A round table removes sharp corners from the walking edge and gives the seats a shared focus. The pedestal in this concept keeps table legs out of the chair positions, although its base still occupies floor. Set the table where daylight is useful without pressing the chairs into the curtain or a radiator.
How to adapt it
- Measure the top and pedestal base of the exact table you are considering.
- Place your own chairs around a temporary footprint.
- Test the window, curtain and route with everyone seated.
Fit check: A round table is not always the smallest option. Compare its full chair circle with a narrow rectangle in your own room before deciding.
4. Open a drop-leaf table only when needed
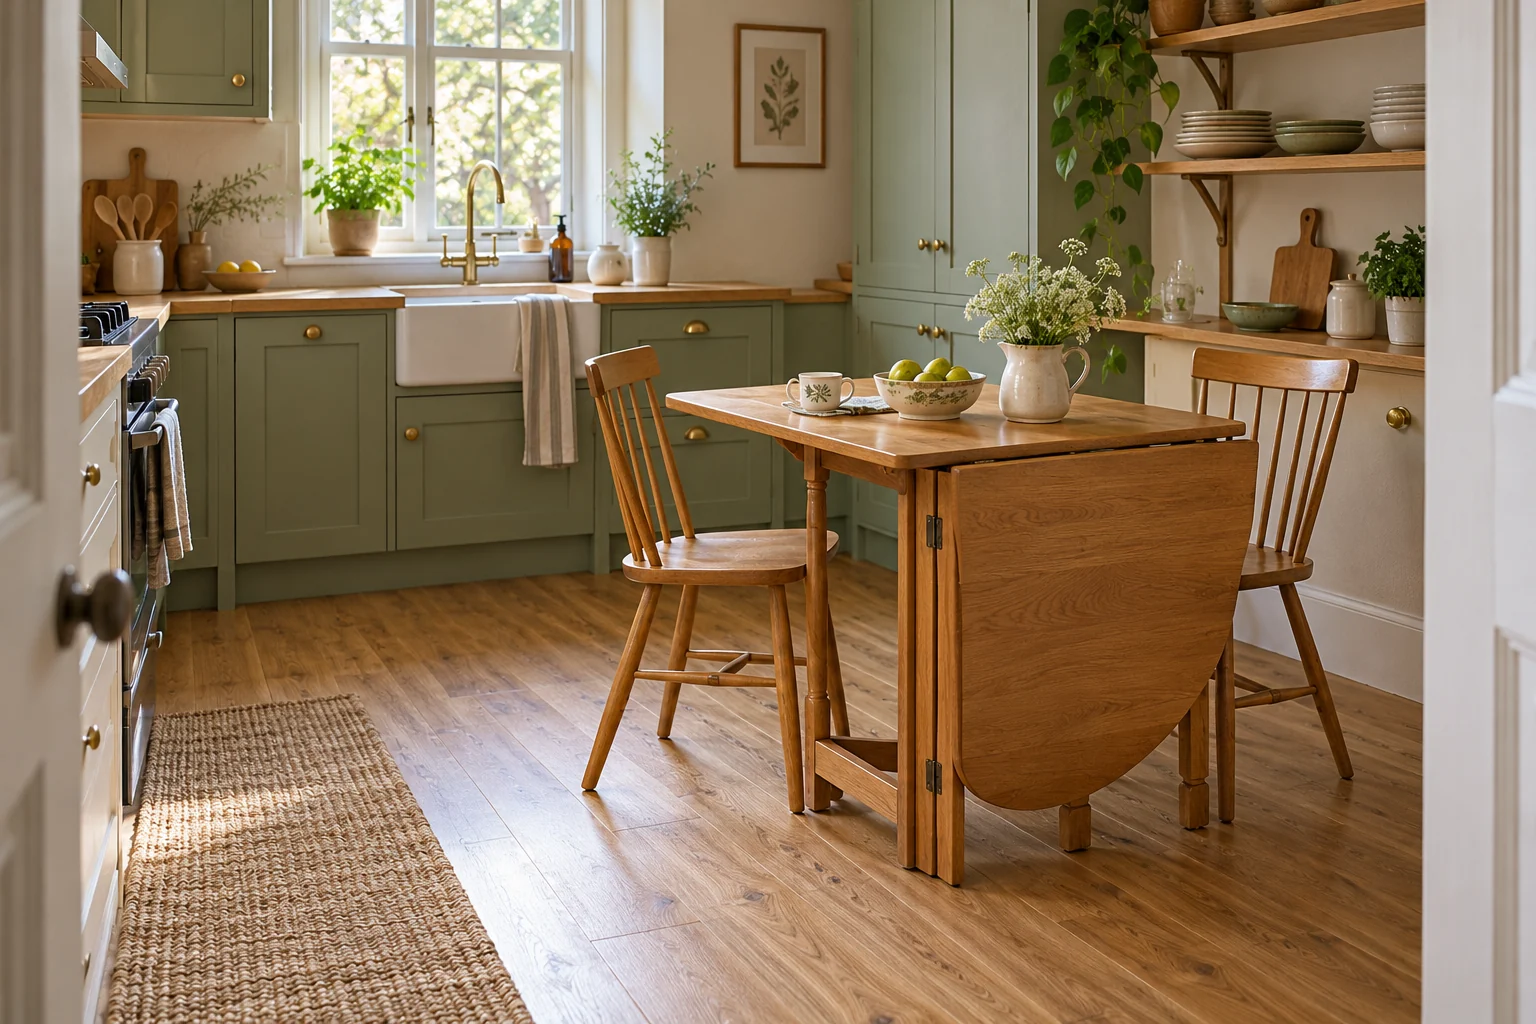
Useful for: A household that needs a small everyday table and occasional expansion.
A gateleg or drop-leaf table lets the surface change with the routine. The example shows one leaf in use and another folded down. That flexibility has value only when the support leg can move, the raised leaf locks as intended and the spare chairs have a sensible storage position.
How to adapt it
- Compare the closed, one-leaf and fully open product dimensions.
- Practise opening the support without scraping cabinets or chairs.
- Choose a place for unused chairs before expanding the table.
Fit check: Check the manufacturer's operating and load instructions. A styled hinge or leg in an AI concept is not evidence that a particular mechanism is safe.
5. Use a supported wall-folding breakfast table
Useful for: A suitable wall in a kitchen or window-side alcove.
A wall-folding table can free the floor after breakfast, but it trades that convenience for wall and hardware requirements. The concept shows support brackets beneath the open surface. Treat the whole table as a rated product with appropriate installation, not as a tabletop that can simply be screwed to any wall.
How to adapt it
- Confirm the wall and fixings suit the exact table's instructions.
- Check chair space with the surface open and storage space when folded.
- Keep window access and kitchen appliances outside its operating path.
Fit check: Renters should check permission for wall fittings. Folding the table away does not solve a layout if the chairs then block the same route.
6. Put a slim table along the room edge
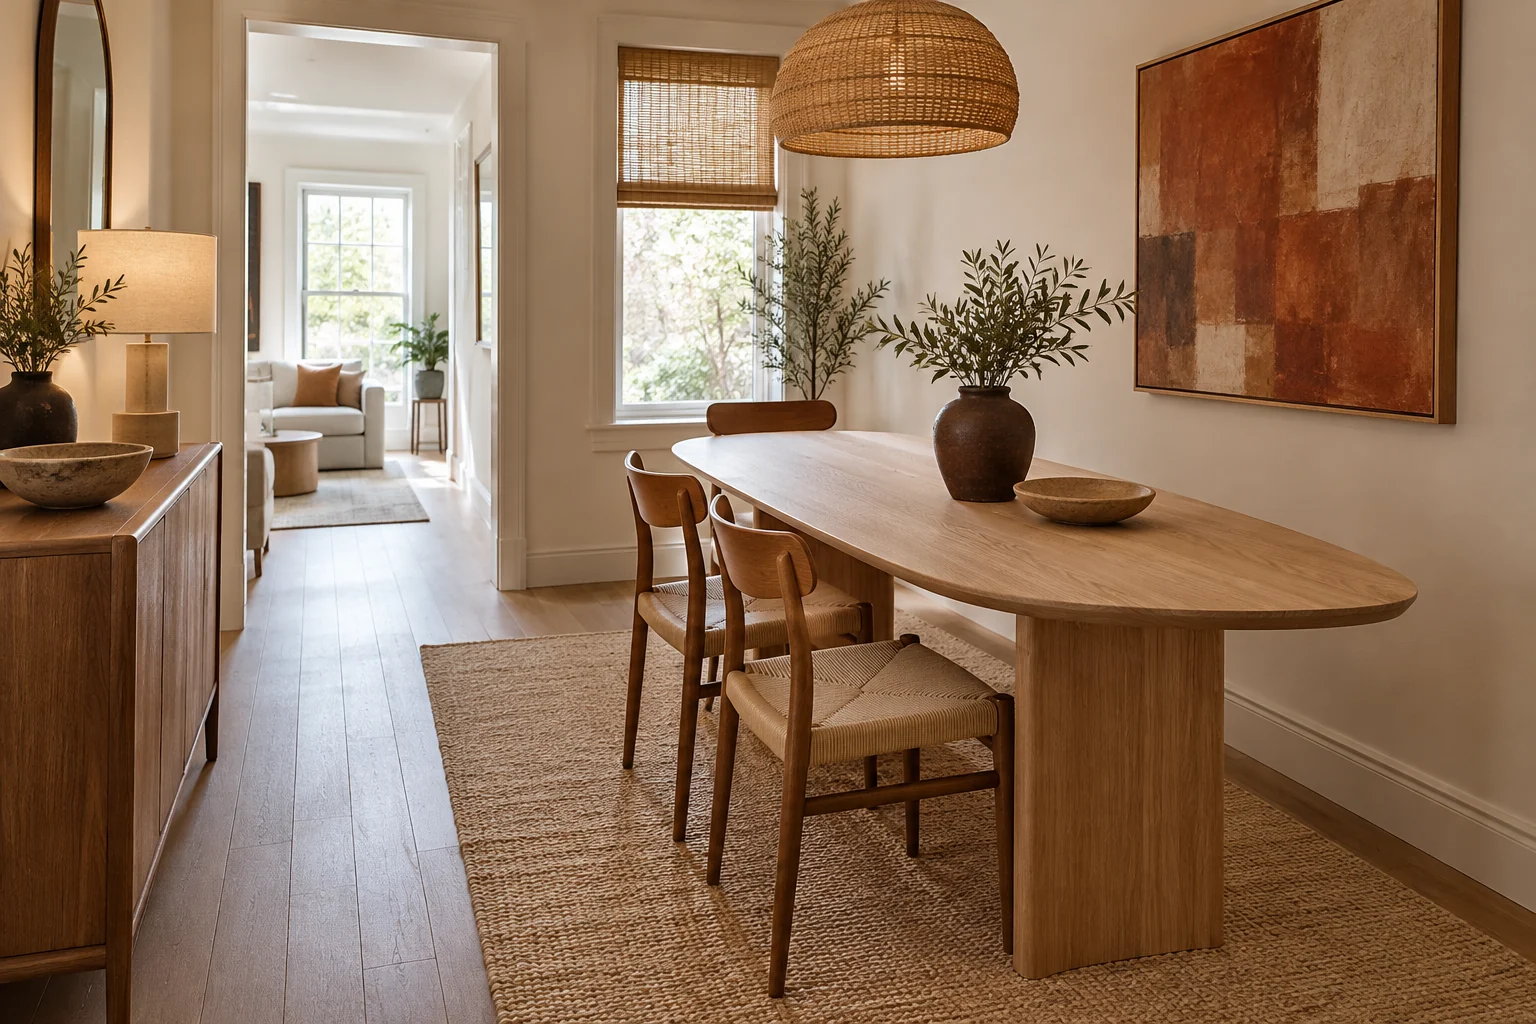
Useful for: A long room where dining must share a through-route.
A slim table positioned along the room edge can leave one continuous passage rather than splitting the floor. Use seats only on the sides that have working room. The concept leaves the wall side without squeezed-in chairs, then adds places along the open side and at an end where there is space.
How to adapt it
- Mark the route that must stay available from door to door.
- Outline the table beside that route and test the open-side seats.
- Keep a cabinet door or drawer out of the chair pull-back zone.
Fit check: The table's narrower top still needs enough room for the meal you serve. Try real plates and elbows instead of comparing widths only.
7. Use a peninsula for quick everyday meals
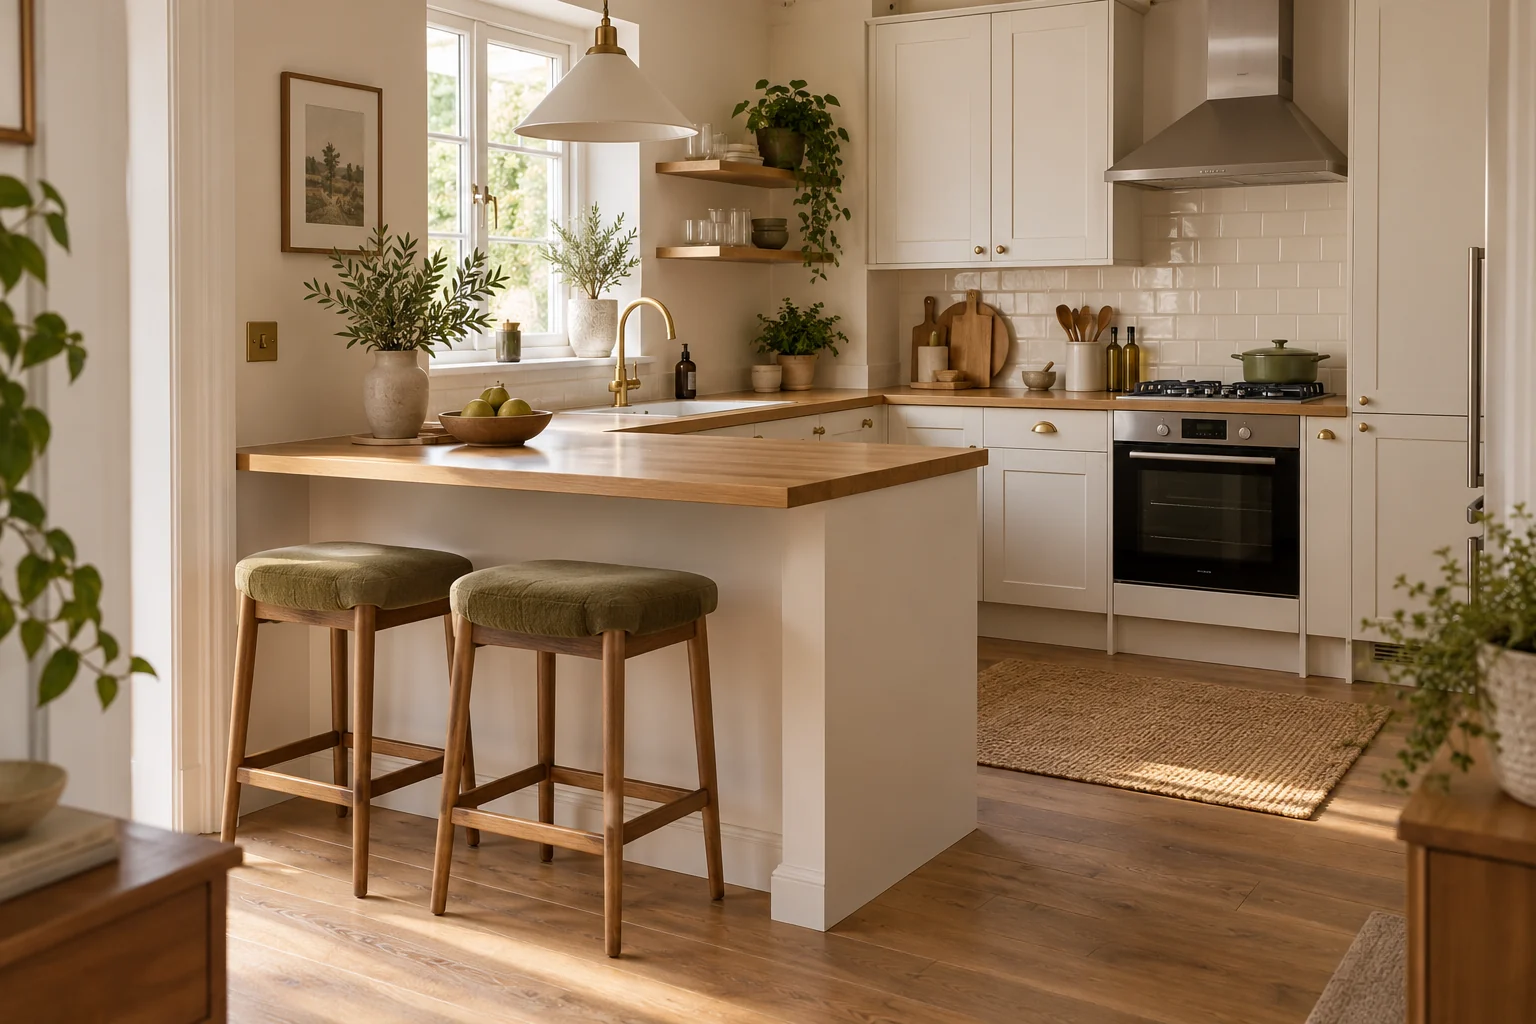
Useful for: A kitchen that already has a suitable eating edge.
A peninsula can serve quick meals close to food preparation without adding a second table. Choose stools around the existing counter height and the people who will use them. The visual idea is a compact breakfast perch; a countertop overhang and stool clearance need to be confirmed on the real kitchen.
How to adapt it
- Measure counter height and available knee space before choosing stools.
- Sit with feet supported and check comfortable reach to the surface.
- Open appliances and cabinets while someone is seated.
Fit check: The concept does not specify an engineered overhang or stool fit. Keep cooking, hot surfaces and the main kitchen route separate from the seating area.
8. Give work and meals one resettable table
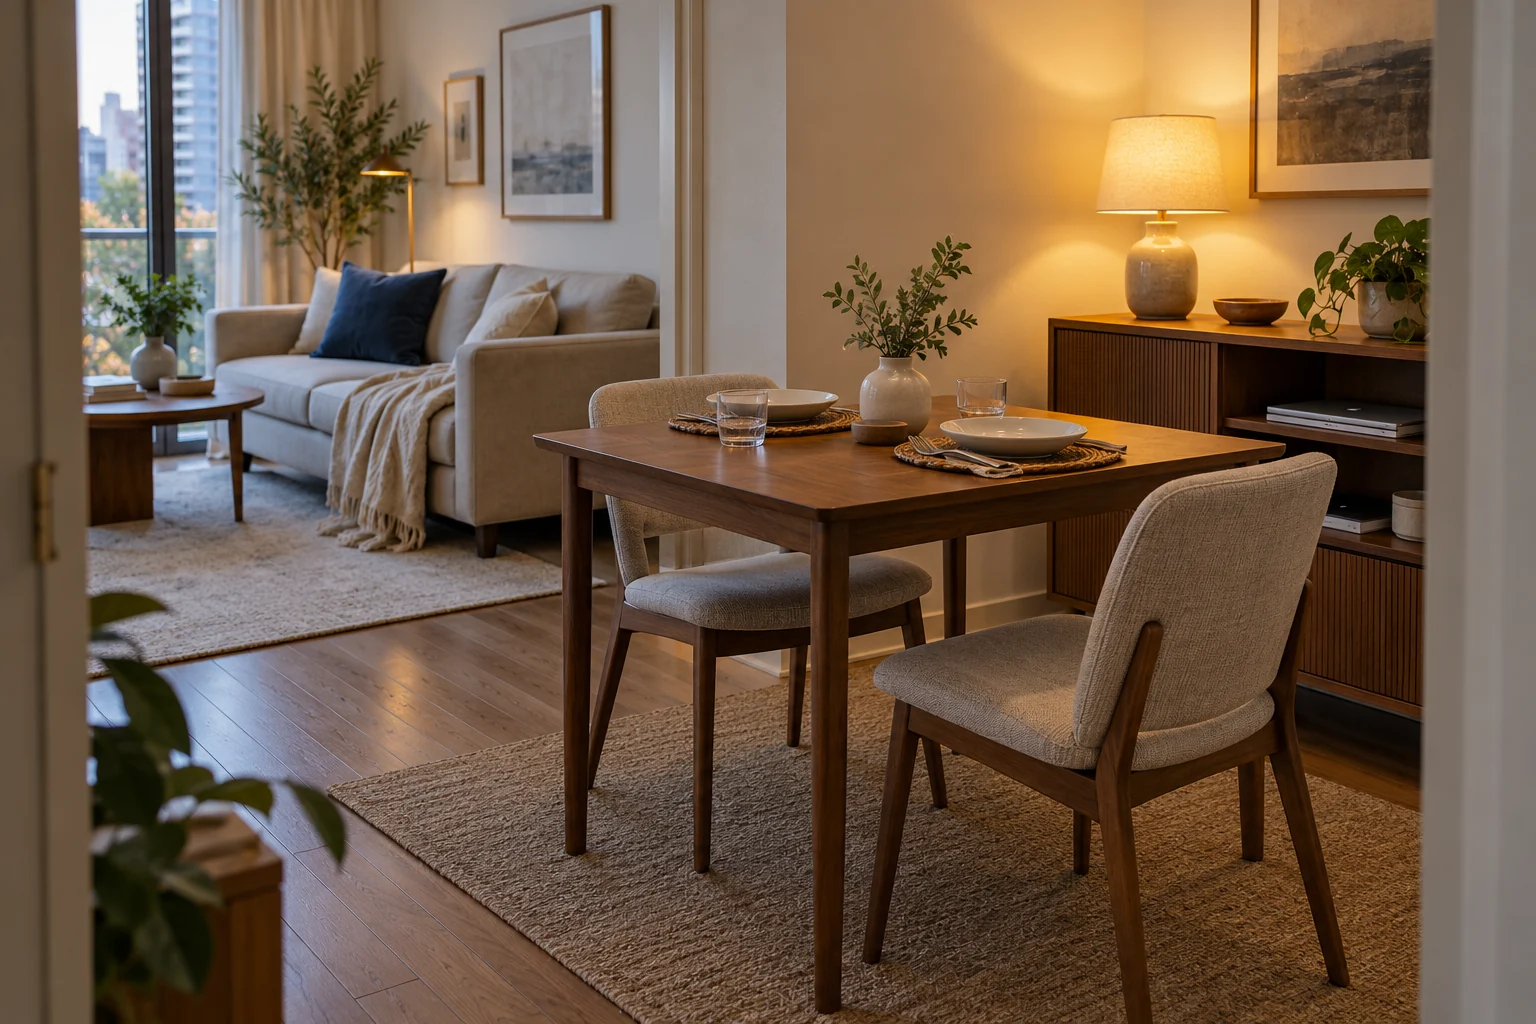
Useful for: A home where a table supports meals and laptop work.
A shared dining-work table needs a closing routine more than a second large desk. In this concept, papers and the closed laptop move into nearby storage so the surface can hold two meal settings. That storage should be easy enough to use every day, otherwise work tends to remain on the table.
How to adapt it
- List the work items that must leave the table at mealtime.
- Give them one reachable shelf, drawer or lidded container.
- Test lighting and chair comfort for both working and eating.
Fit check: Keep cable routes outside chair legs and walkways. A convenient place for a laptop is not necessarily a comfortable all-day workstation.
9. Tuck a loose bench under the table
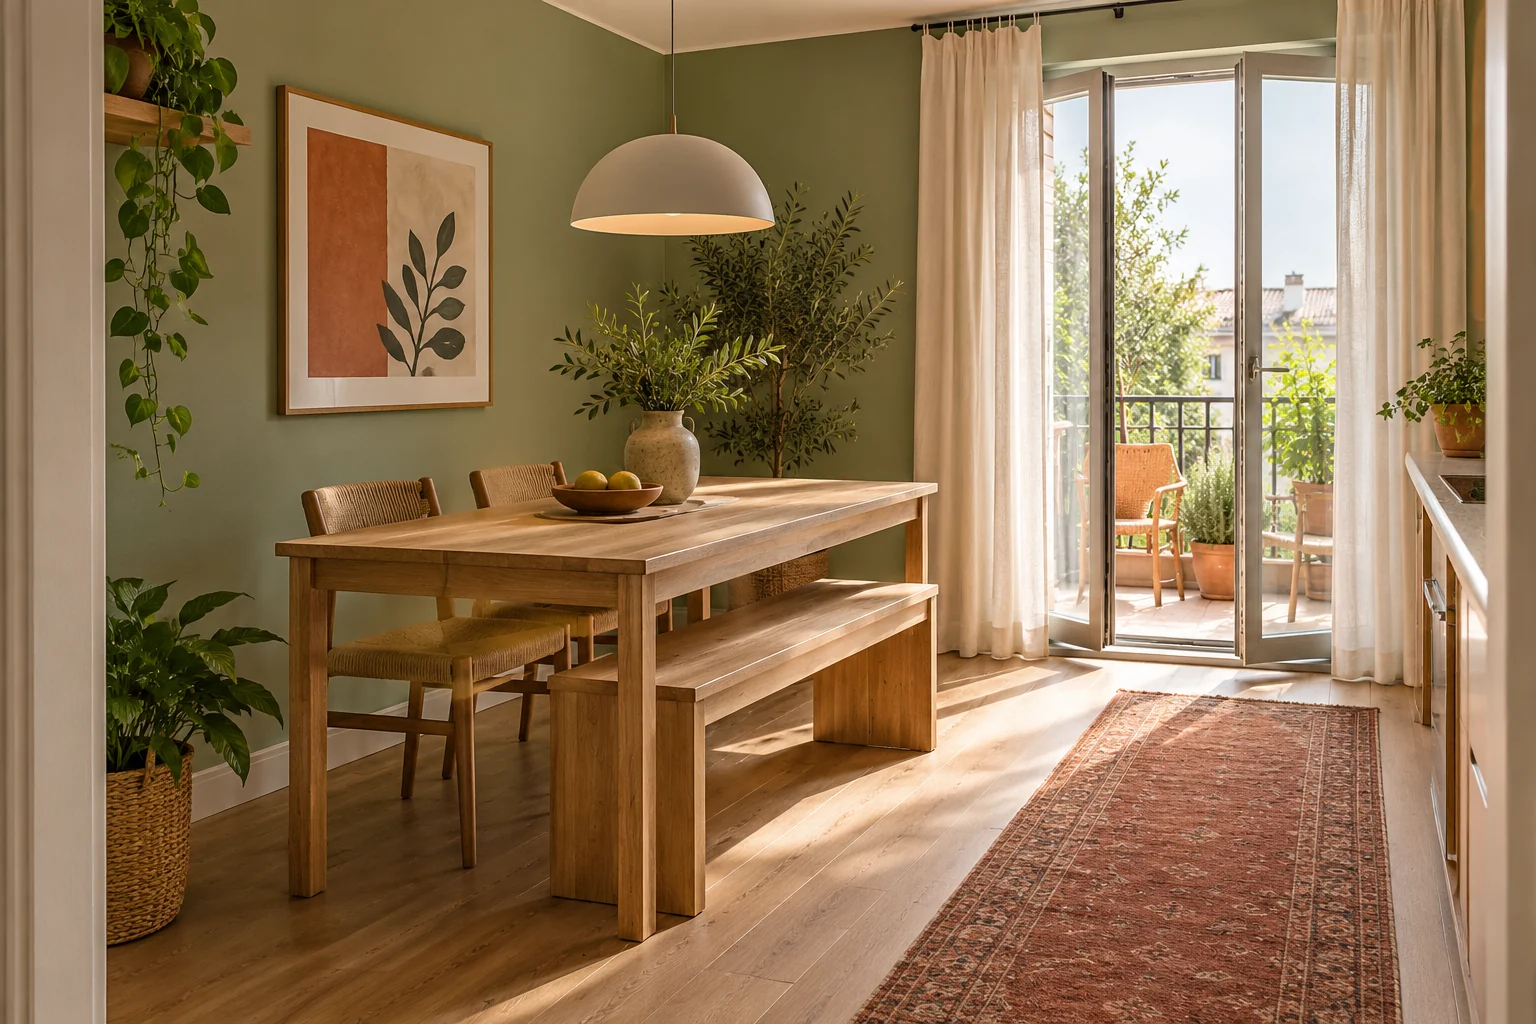
Useful for: A dining area where a loose bench can park between meals.
A backless bench can tuck beneath a compatible table, making the resting arrangement less bulky. Its height, width and legs must actually fit under the table apron. The scene shows the bench parked, with chairs opposite and a clear route to the balcony; judge the room again with the bench pulled out for use.
How to adapt it
- Check the clear opening beneath the table, not just tabletop height.
- Slide the bench in and out without lifting it across another chair.
- Try the balcony door and curtains with diners seated.
Fit check: A bench offers different support from a backed chair. Choose seating around the people who use it and do not promise extra places without testing seat width.
10. Keep extra seats stacked off the walkway
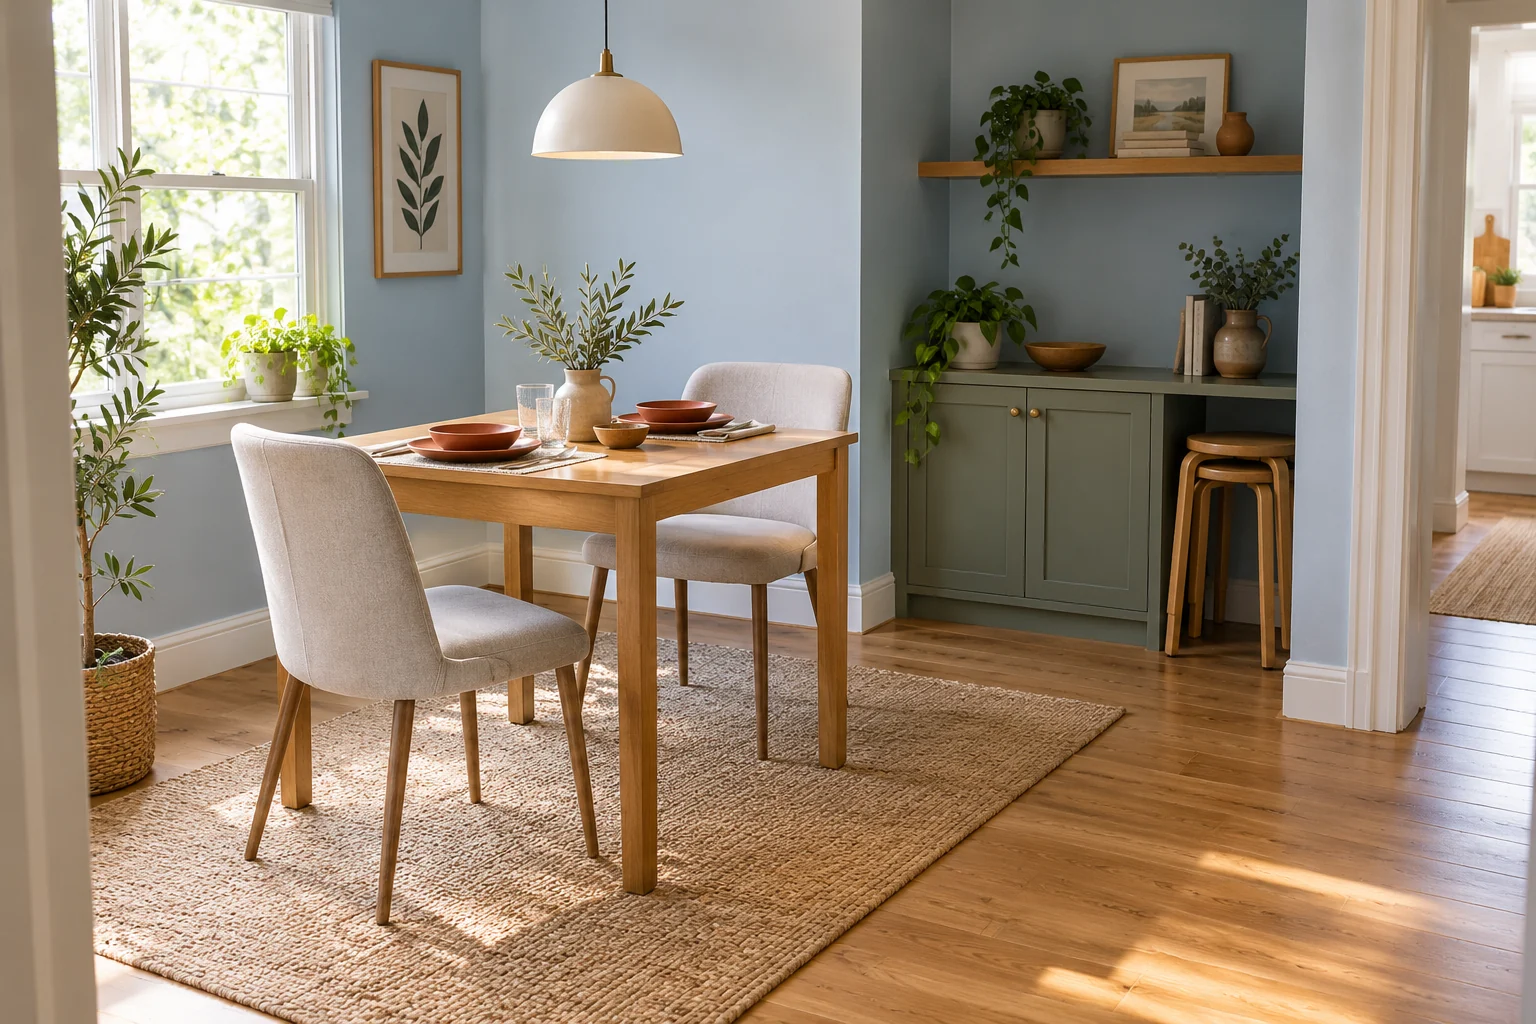
Useful for: A small table used by two people most days.
Extra stools can stay in an alcove and come out only when needed. The everyday layout then remains a table for its normal users. A useful guest seat has both a parked location and a real position at the table; storing several stools is not the same as having room to dine comfortably with more people.
How to adapt it
- Keep only the extra seats you can actually use around the table.
- Stack them according to their design and away from the walking route.
- Try the guest layout before deciding a larger table is necessary.
Fit check: Check stack stability and usable seat height. The stack should not block cabinet access or become something people must move each morning.
Choose one layout and try the routine
Try one ordinary meal in the proposed layout, then reset the room afterwards. Note where bags, work papers, spare chairs and folded furniture go. If those objects have no home, fix that before buying another table. Continue with our small-kitchen storage plan and no-buy room refresh for nearby routines.
Change the arrangement before choosing the colour scheme. Keep one useful accent in bedding, cushions or table linen, and give loose objects a defined place. Comfortable use should remain possible when the room is lived in, not only immediately after it is tidied.
Planning references
The references provide general clearance, flexible-table and window-side folding examples. Use exact manufacturer dimensions and fitting instructions for a chosen product. The ten images are original Room & Routine concepts rather than product photographs.
- IKEA: dining-area arrangement and clearance examples
- IKEA: flexible and gateleg dining tables
- IKEA: a wall-folding window-side dining example
References checked 13 October 2026. The general principles above should be applied with your own measurements and the instructions for the actual furniture.
Practical questions
Is a round table always better in a small room?
No. Its softer corners may help a route, but the complete chair circle can occupy more space than a narrow rectangle. Compare both using the chairs you intend to use.
Does a bench automatically add more seats?
No. Check usable seat width, table reach and how people enter or leave. A bench can tuck away or settle one wall edge, but it is not evidence of a particular seating capacity.
What is the first thing to buy for a dining corner?
First test a footprint and the everyday meal with existing seating. Buy only after you know the table height, open space and storage routine the new item must support.
Keep the useful part.
Keep one visual reminder of this guide. The illustration suggests a direction; the practical steps and fit checks above help you adapt it to your own room.